Vintage Hanky Necklace


Vintage Hanky Necklace 


You will need:  Vintage Handkerchief,  Sewing Machine, Needle and Thread or Jewelry Pliers and 22 Gauge Jewelry Wire, 1yd. of Ribbon, Wood Beads, and Glue.


Start out by folding the hanky in half diagonally over the largest center bead, pin it to determine how wide to stitch a seam on the sewing machine.  By folding the hanky diagonally, the fabric will be on the bias.  This will allow the fabric to gather tightly around the beads without bunching.  You will make a tube of fabric in which to insert the wooden beads.

I used a chalk wheel and a straight edge to mark my seam,
but it would be easy to eyeball it.  

Make sure your bead fits inside the seam before
 you cut along the seam to make the tube.


Cut along the seam and turn the tube inside out.


Insert the center bead and stitch on each side of the bead, wrapping the thread around the fabric in order to cinch the hanky tightly around the bead.  Add beads, alternating from side to side, securing each bead as you go.  


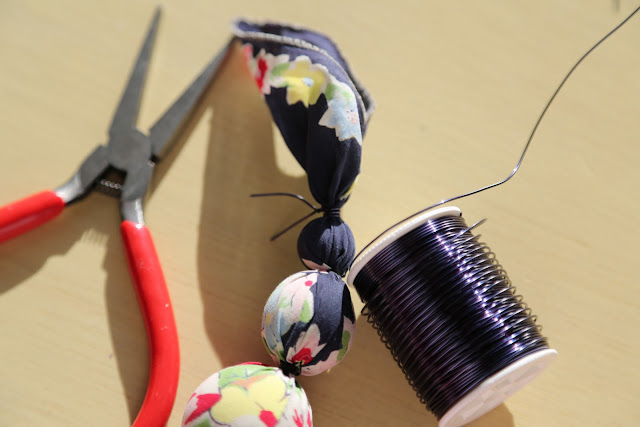
If sewing isn't your forte, you can use 22 gauge jewelry wire to cinch the hanky tightly around the bead.

The ribbon tie (18 inches long) should be inserted through the last bead and glued.  I used a skewer and jewelry glue to secure the ribbon in the bead.  After the glue has dried, cut the skewer off flush with the edge of the bead while being careful not to cut the ribbon.


When you have 1inch left on either end of the tube, insert the bead that has been threaded with ribbon and glued.  Secure the last bead in the same way you have all the others.


Comments

Popular Posts